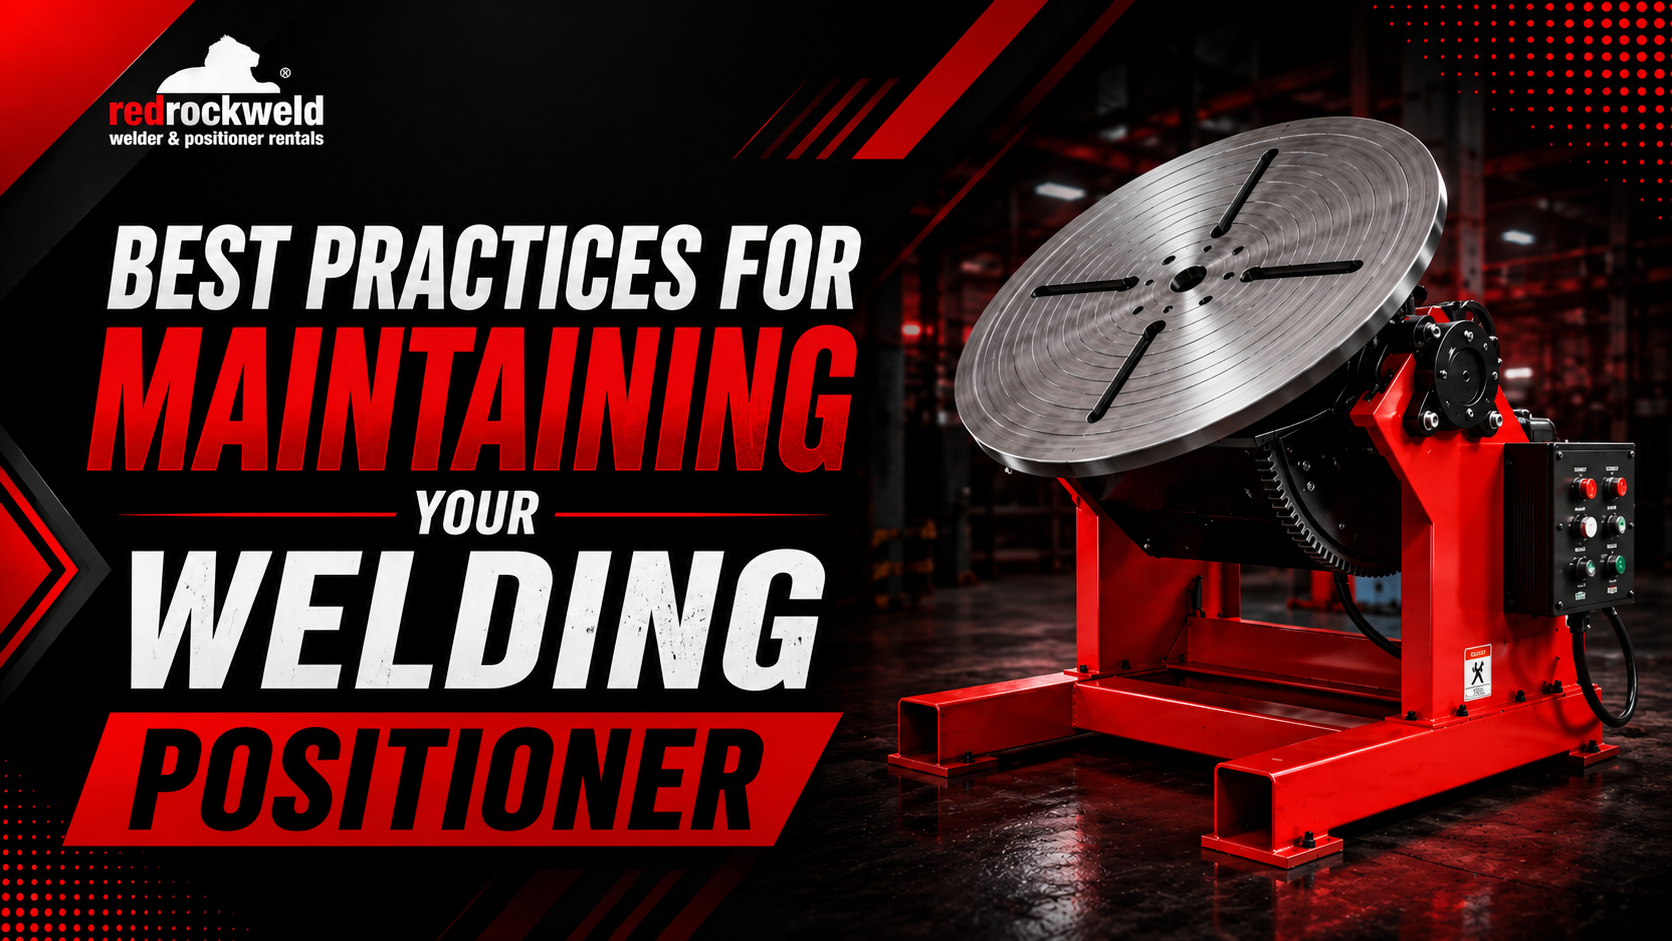
Best Practices for Maintaining Your Welding Positioner
Proper care and regular maintenance are important to ensure that your welding equipment lasts for many years of heavy service. This blog gives five important strategies to keep your positioners running smoothly and safely in any busy fabrication shop environment. By following these simple steps you can prevent expensive downtime and ensure that every weld remains accurate and consistent throughout the day.
What is a Welding Positioner?
A welding positioner is a specialized piece of mechanical equipment used to rotate or tilt a workpiece for easier access. It allows a welder to be in one comfortable spot while the machine moves the heavy metal part into the perfect angle for joining.
- Enhanced Tool Utility This machine acts as a mechanical assistant that holds heavy parts so the operator does not have to lift them. It provides a stable platform that can spin or tilt to reach spots that would otherwise be very difficult to weld.
- Safety and Comfort By moving the metal to the welder it reduces the human strain on the workers during long shifts in the shop. This setup helps prevent injuries related to awkward bending or heavy lifting which is common in manual fabrication tasks.
- Better Weld Quality The machine gives a very steady motion that helps the welder create a smooth and even bead across the entire joint. Consistency is much easier to get when the workpiece moves at a set speed that matches the hand of the operator.
Tips for Welding Positioner Maintenance
1. Check the Gearbox Oil
The gearbox is the main part of the machine because it handles the heavy lifting and constant rotation of the table. You should check the oil levels every month to make sure the internal gears stay lubricated and do not grind against each other. If the oil looks dark or has metal flakes in it you must change it immediately to prevent mechanical issues.
2. Clean the Grounding Brushes
The ground connection is important because it carries electricity away from the machine and back to the power source during welding. Over time dust and debris can build up on the copper brushes which blocks the flow of current and causes electrical arcing. You need to wipe these brushes clean and check for wear to ensure your machine stays safe and your positioner stays steady.
3. Grease the Main Bearings
Bearings allow the table to spin freely under the weight of huge, heavy metal parts without creating too much friction or heat. You should apply high quality grease to all fittings on a weekly basis to keep the movement as fluid as possible during operation. Ignoring this simple task can lead to seized parts which are very expensive and time wasting to replace in a busy workshop.
4. Check the Foot Pedal
The foot pedal is the main way the operator controls the speed and direction of the rotating table while their hands are busy. You must check the cables for any frays or breaks and ensure the pedal moves up and down without any sticking or hesitation. A damaged pedal can make sudden movements that ruin a weld or create a dangerous situation for everyone working nearby.
5. Tighten Every Single Bolt
Constant vibration from the welding process and the heavy motor can cause bolts and fasteners to slowly wiggle loose over several weeks. You should take a wrench and check the tightness of the base bolts and the table mounting hardware at least once every month. Keeping everything tight prevents the machine from shaking and increases the accuracy of your work and protects the internal components.
6. Check the Motor Temperature
Electric motors can overheat if they are pushed too hard or if the cooling vents are blocked by piles of shop dust. You should feel the motor casing sometimes during a long shift to make sure it is not getting too hot to touch comfortably. Cleaning the cooling fans and vents will allow air to flow freely and keep the motor running at a safe working temperature.
7. Check Table Leveling
A positioner that is not perfectly level will cause the weight of the workpiece to pull unevenly on the drive motor and gears. You should use a bubble level to check the machine every time you move it to a new location on the shop floor. Checking the base is flat helps the machine rotate smoothly and prevents unnecessary wear on the bearings from an unbalanced load.
8. Wipe Down the Table
Spatter and slag can build up on the surface of the table and make it difficult to mount your workpieces flat and true. You should use a wire brush or a scraper to remove any metal bits that have got stuck to the surface after every job. A clean table ensures that your clamps and jigs fit properly and that your grounding connection remains strong throughout the project.
9. Check Electrical Connections
Loose wires or damaged plugs can cause the machine to lose power or behave odd during an important part of the welding process. You should check the main power cord and all internal wiring for signs of heat damage or cracks in the plastic insulation. Checking the connections ensures that the machine receives a steady flow of power which is needed for keeping a constant rotation speed.
10. Train Every Operator
Maintenance is much easier when every person using the machine knows how to handle it with care and respect during their daily tasks. You should teach your team how to spot early signs of trouble like strange noises or vibrating parts before they become big problems. Proper operation is the first step in a good maintenance plan because it prevents accidental damage caused by overloading or misuse.
Conclusion
Keeping your welding positioner in the perfect condition does not have to be a difficult task for your team. By following these five simple maintenance tips you can keep your welding positioner reliable and safe for every single project. Taking a few minutes each week to inspect and clean your machine will prevent you from unnecessarily buying expensive repairs and keeping your shop productive. To discuss more about the welding positioner maintenance, contact our team at Redrock !